Section & Course Settings
Add/Edit Courses and Sections
While most of time your courses, and sections are created during the import of data process, this option gives the user the ability to add/edit courses and their sections manually.
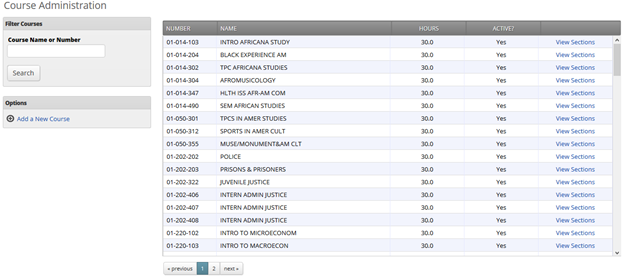
Add a New Course
To create a new course, click the Add a New Course link.
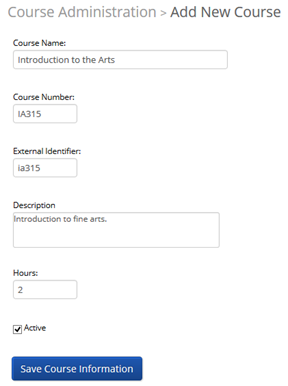
- Course Name: The course name will appear everywhere throughout GradesFirst. It should match your institution’s course catalog.
- Course Number: The course number will appear everywhere throughout GradesFirst. It should match your institution’s course catalog. It will also be used during future data imports, so it is imperative to make sure this number matches the course number in your data import files.
- External Identifier: This number is an extra unique identifier, besides the course number, that is assigned by your LMS (Learning Management System) and only used during data imports. Please contact your institution’s data import specialist for help regarding this number.
- Description: This description is only seen by the GradesFirst Administration in a few places, so not a lot of detail needs to be entered here.
- Hours: This refers to the number of credit hours this course is worth.
- Active: Determines whether this course is active, and thus will appear on student’s schedules and searches.
When a course is saved, users will see the Course Listing screen, shown below.
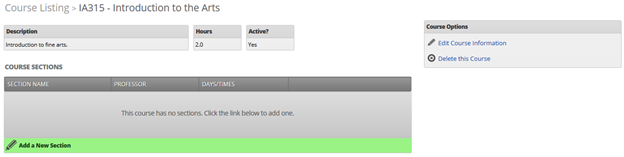
Add a New Section
The next step is to create the sections for this course. Click the Add a New Section link to proceed.
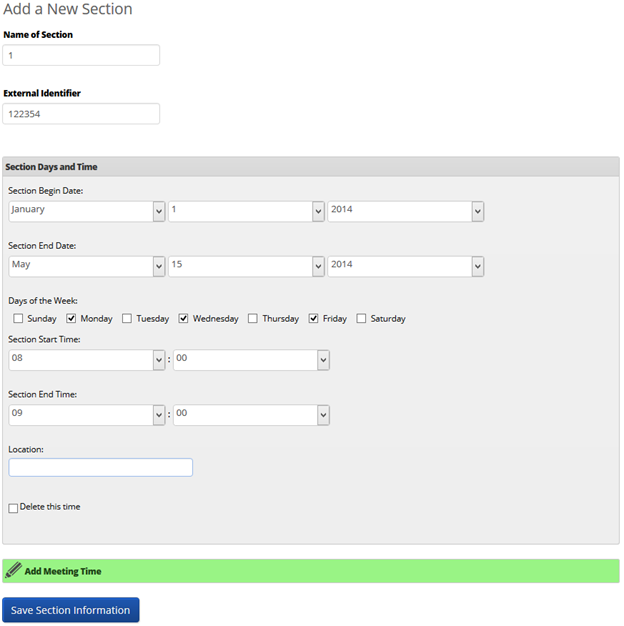
- Name of Section: Most of the time, this will simply be a 1 or A. For example, in the example above, this is a section of the course Introduction to the Arts (Course Number IA315). In my institution, sections are labeled with a single digit (e.g. 1, 2, 3, 4, etc…) So the name of this section would simply be “1”. Behind the scenes, GradesFirst realizes the course ID and section would then be IA315-1.
- External Identifier: Like the course, the section has a unique valued assigned by your data import specialist.
- Section Days and Time: Enter the dates, days and times for which this section will meet and click Save.
Add a Student and Add a Professor
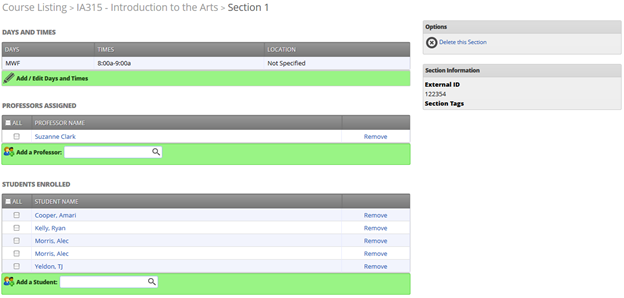
To add a student or professor, simply type in the beginnings of their name and select them when the search returns their value. Once all students and professors have been assigned, you are done. No Save button is needed as students and professors are automatically saved when they are assigned (selected).
Manage Section Tags
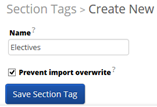
Add a Section Tag
This is the final step in the setup process in order for automated absence emails to be sent. First we use the Add a Section Tag link to create new tag. Each set of courses that require a different amount of absences to send an email should be given their own tags. For example, if a student is absent twice, for any elective, they will be sent an email. In this case, a section tag called Electives should be created.
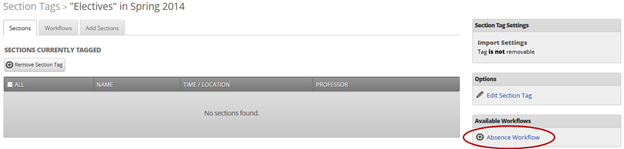
Once saved, uses can create an absence workflow for this section tag.
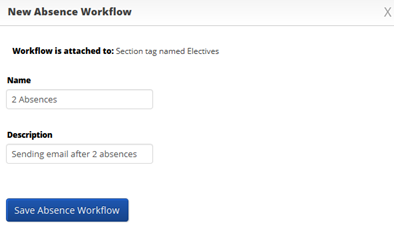
Creating an Absence Workflow
Step 1: Name and describe the workflow
Step 2: Create the conditions for which an absence email will be automatically sent
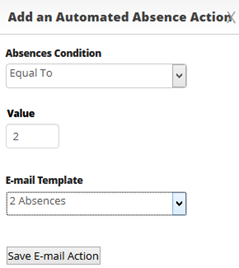
Save E-Mail Action
In the example above, when there are “equal to” 2 absences, for any Elective, the email template “2 Absences” (as defined via the Absence Email Template) will be used to generate an automated email. The next step is to define which courses are considered “Electives”. When clicking Save E-mail Action is used, the screen below will appear.
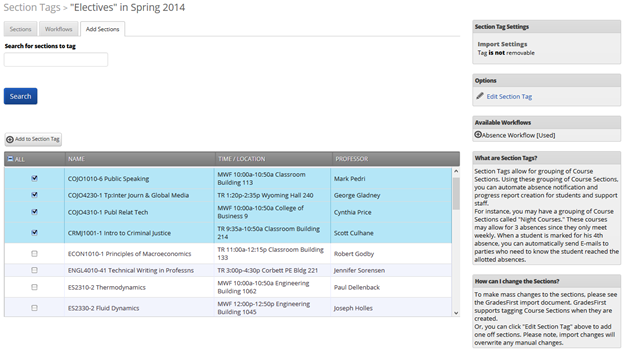
This is where users can search for specific courses, select them by checking their checkbox and then using the Add to Section Tag button to assign them to the Elective Section tag. When all sections have been “Added” to the Section Tag, you are done. The process will automatically run to when there is a student with 2 absences in a selected course, they will receive an automated email via GradesFirst. Workflows can also be setup to when a student is absent 3, or more times, for a specific Elective, they receive a second different email. Just create another workflow and define that logic.