SFTP Setup for Windows
Generating your RSA key
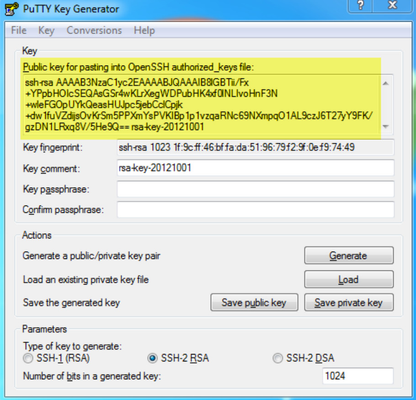
Our recommended tool for generating RSA keys is PuTTYgen.
1. Download PuTTYgen.
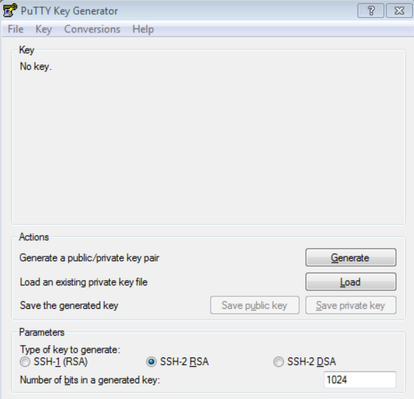
2. Run puttygen.exe.
3. Click “Generate”.
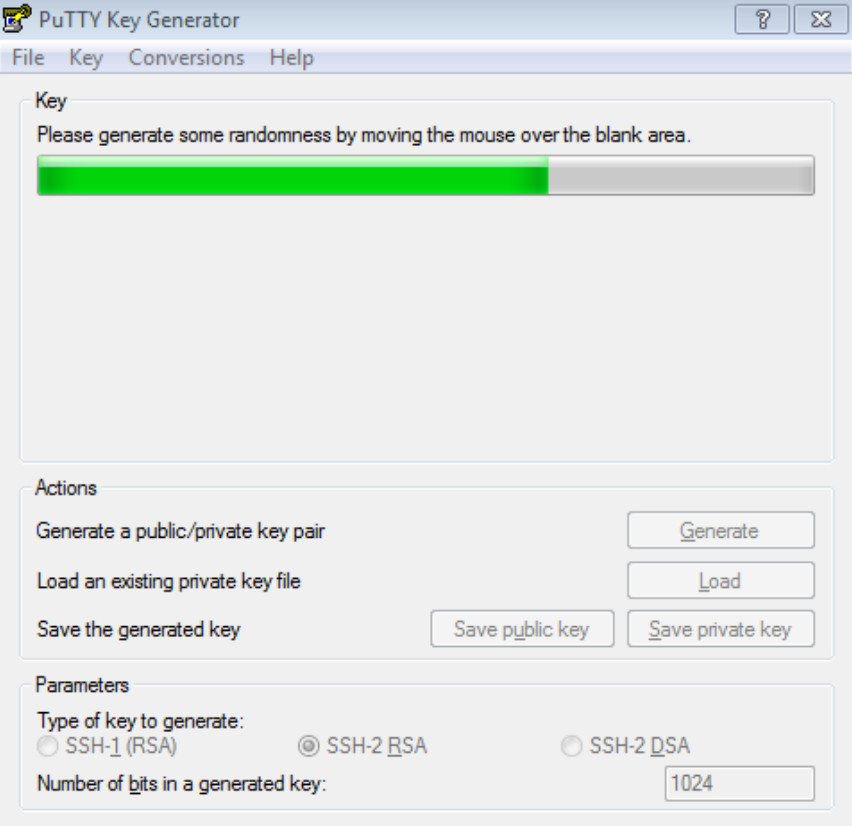
4. Move your mouse over the blank gray area. This generates random input that is used by the key generation algorithm.
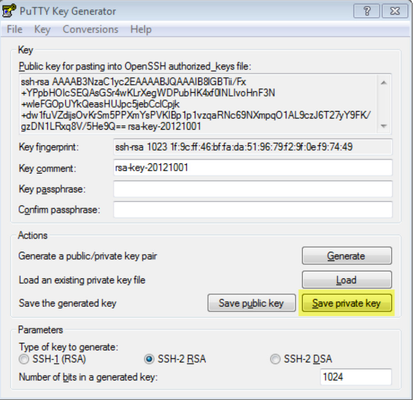
5. Click “Save private key”.
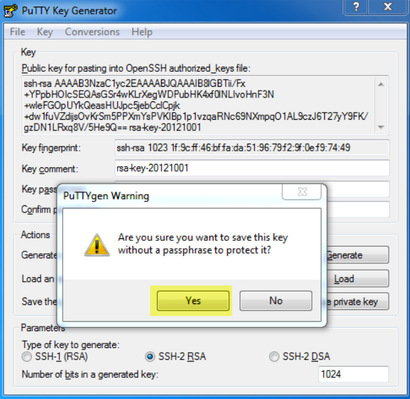
6. Click “Yes” and save the file to your Desktop.
7. Copy the “Public key for pasting into OpenSSH authorized_keys file” value.
Installing your public key in GradesFirst
1. In GradesFirst, click the Admin tab. Then click “Configure SFTP”.
2. Paste the public key into the SSH Public Key box and click “Save SSH Public Key”.
3. Your key is now installed in GradesFirst.
Testing your FTP setup
Before you begin
To be sure your systems allow traffic to GradesFirst servers, please see Firewall Exceptions.
Testing
To test your FTP setup, you can use any client that supports SFTP using public/private key authentication. For this walkthrough, we’ll use WinSCP (version 4.3.9).
1. Download WinSCP and install it.
2. Run WinSCP.
3. Create new session:
Host name: imports.gradesfirst.com
Port number: 22
User name: (For this value, please use your school’s GradesFirst subdomain)
Private key file: (For this value, please browse to the “.ppk” file you created when you generated your key)
File protocol: SFTP
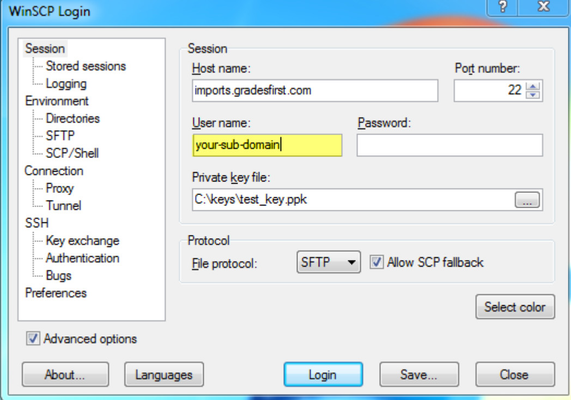
4. Click “Login”
5. Click “Yes” to add the host key to the cache.
6. You should now be connected.
7. Click the open folder icon in the menu bar on the left half of the screen to browse to the file(s) you would like to upload.
8. Drag and drop your import file(s) from left to right. NOTE: Please keep in mind that the order in which you upload the files is the order in which they will be imported.
9. When prompted, click “Copy”.
10. Your files should now appear on the right side of the screen. This indicates they have been uploaded successfully.